Here are video production business ideas:
Wedding Videography:
Provide professional videography services for weddings and other special events.
Corporate Video Production:
Create promotional videos, training videos, and corporate event coverage for businesses.
Real Estate Videography:
Offer high-quality video tours of properties for real estate agents and property owners.
Event Videography:
Cover live events such as concerts, conferences, and festivals, providing highlight reels or full event coverage.
Educational Video Production:
Create instructional videos, online courses, and educational content for schools, businesses, or online platforms.
Travel Videography:
Produce travel vlogs, destination videos, and promotional content for tourism boards, travel agencies, and hospitality businesses.
Documentary Filmmaking:
Develop and produce documentaries on various topics, either independently or in collaboration with media outlets.
Music Video Production:
Collaborate with musicians and bands to create music videos for their songs. Helping them promote their music and build their brand.
YouTube Channel Management:
Offer services to help individuals or businesses create, manage, and grow their YouTube channels, including content creation, optimization, and audience engagement.
Drone Videography:
Specialize in aerial videography and photography using drones, providing stunning aerial footage for a variety of purposes such as real estate, events, and cinematography.
Animation Studio:
Establish a studio specializing in 2D or 3D animation production for commercials, films, TV shows, or web series.
Virtual Reality (VR) Production:
Dive into the world of immersive media by offering VR video production services for gaming, training simulations, virtual tours, and interactive experiences.
Sports Videography:
Capture sporting events, athlete profiles, and highlight reels for sports teams, leagues, and organizations.
Health and Wellness Videos:
Produce content focused on fitness routines, yoga classes, healthy cooking demonstrations, and mental wellness. Tips for individuals, wellness centers, and healthcare providers.
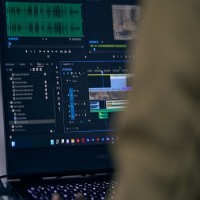
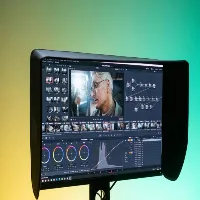
Video Editing Services:
Provide standalone video editing services for clients who have raw footage but need professional editing, color grading, and post-production work to polish their videos.
Fashion Videography:
Partner with fashion designers, models, and brands to create promotional videos, lookbooks, and runway coverage for fashion events and campaigns.
Culinary Video Production:
Worked with chefs, restaurants, and food brands to produce cooking tutorials, recipe videos, and culinary content for social media, websites, and cooking shows.
Historical Documentary Production:
Specializes in creating documentaries that explore historical events, figures, and cultures, collaborating with historians, museums, and educational institutions.
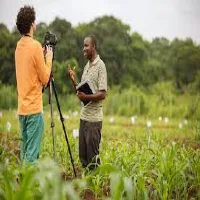
Environmental and Conservation Videos:
Produce documentaries, educational videos, and advocacy campaigns focused on environmental issues, wildlife conservation, and sustainability efforts.
DIY and Craft Video Production:
Partner with DIY bloggers, crafters, and artisans to create instructional videos, crafting tutorials, and DIY project ideas for online platforms and social media channels.
Pet Video Production:
Create engaging content focused on pets, including pet care tips, training videos, and pet product reviews, catering to pet owners and pet-related businesses.
Language Learning Videos:
Develop educational videos and language learning courses for individuals looking to learn a new language, collaborating with language schools or online learning platforms.
Virtual Event Production:
Provide comprehensive virtual event production services, including live streaming, virtual event platform setup, and post-event video editing, for conferences, trade shows, and corporate events.
Healthcare Video Production:
Produce medical and healthcare-related videos, including patient education materials, procedural videos, and healthcare marketing content for hospitals, clinics, and healthcare professionals.
Video Resume Services:
Help job seekers stand out by creating professional video resumes and interview preparation videos, assisting them in showcasing their skills and experience to potential employers.
Family Legacy Videos:
Offer personalized video services to help families preserve their memories and stories through interviews, photo slideshows, and documentary-style videos.
Educational Animation:
Create animated educational content for children, schools, and educational organizations, covering topics such as science, history, and literature.
Personal Branding Videos:
Assist individuals, entrepreneurs, and influencers in building their brands through compelling video content, including branding videos, vlogs, and social media content.
Remote Video Production Services:
Provide remote video production services, including virtual filming, remote directing, and online collaboration tools, catering to clients who require video content without in-person interaction.
Video Marketing Consultancy:
Offer consultancy services to businesses and organizations looking to develop effective video marketing strategies, including content planning, production, distribution, and analytics.
These ideas expand upon various aspects of video production and cater to diverse client needs, allowing you to carve out a unique niche in the industry. Here are video production business ideas: